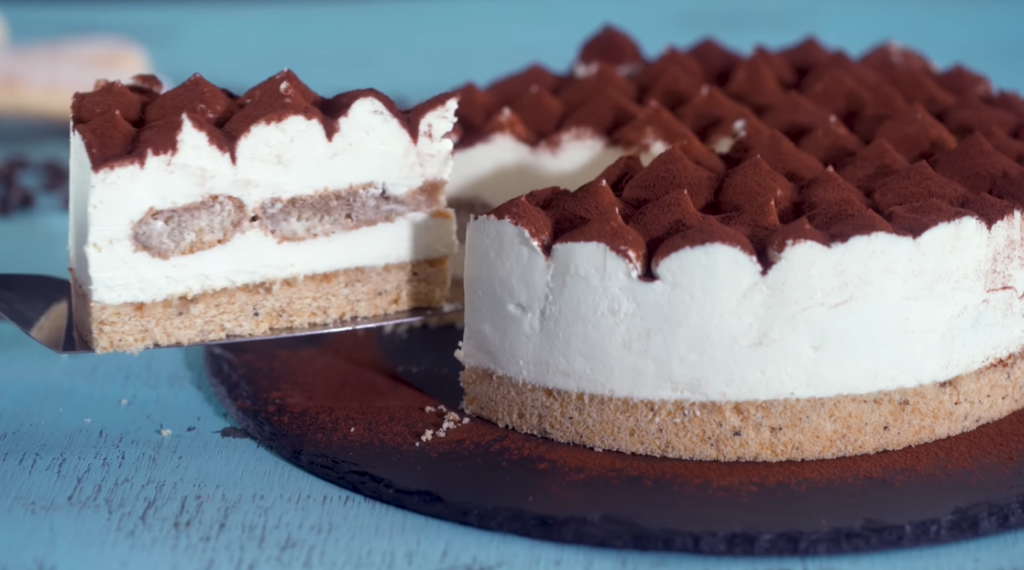
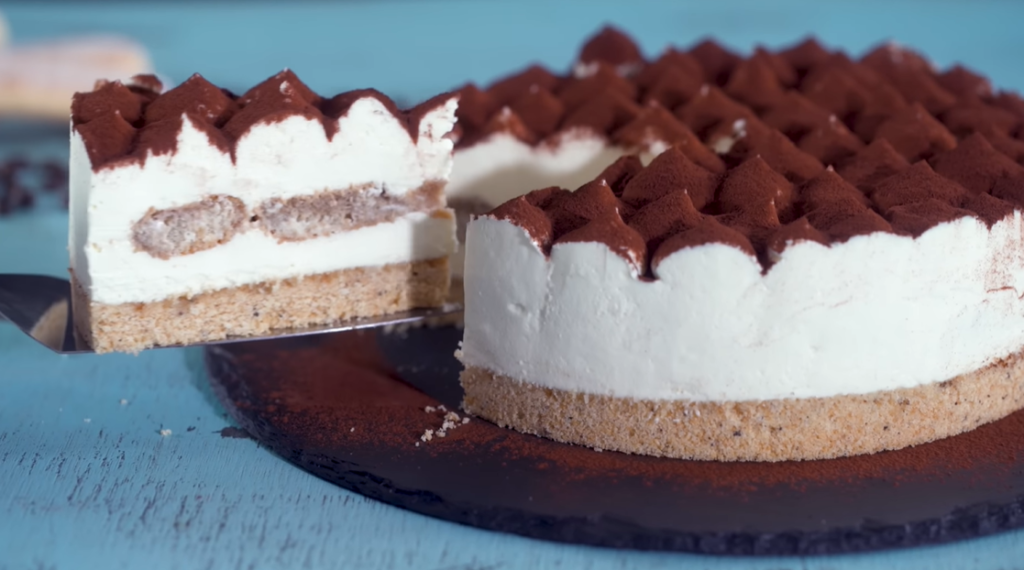
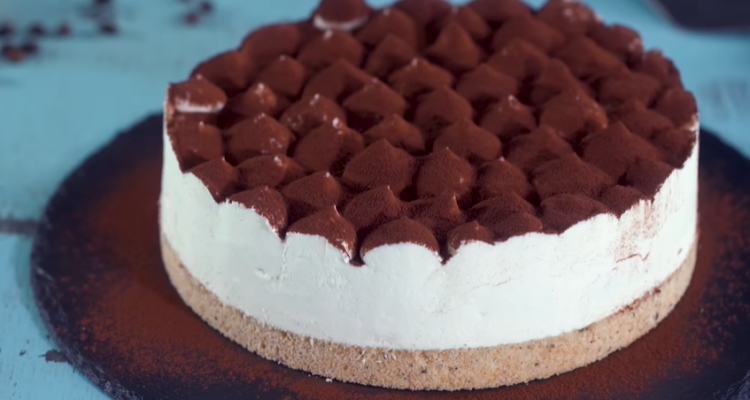
If you’re searching for the best dessert for the holiday season, look no further than this baked tiramisu cheesecake. This incredible treat is a combination of my ultra-popular New York cheesecake with the classic flavors of tiramisu. The cheesecake itself is ultra-silky, creamy, and luscious, featuring a chocolate crust that perfectly complements the rich filling.


But what really sets this showstopper apart is the layer of coffee-soaked ladyfingers in the middle and the layer of coffee mascarpone cream on top. It tastes excellent and looks gorgeous inside and out. This delicious dessert is perfect for any celebration, making it a must-try for anyone who loves a classic cheesecake with a twist.
WHAT MAKES THIS TIRAMISU CHEESECAKE UNIQUE?
While there are countless tiramisu cheesecake recipes available on the internet, I highly recommend giving this particular one a try! The main reason is that this is a baked cheesecake, unlike most other recipes, which are no-bake. Don’t get me wrong, no-bake cheesecakes are certainly delicious and very easy to make. But, in my opinion, nothing truly beats a delicious baked cheesecake. If you’ve ever tried my recipe, you’ll likely agree that it is worth the extra bit of work.
I wanted to create a baked tiramisu cheesecake recipe, and the result has been absolutely worth it. The effort to make this cheesecake is minimal compared to the delightful experience it offers. So, if you’re looking for a unique twist on a classic dessert, this baked tiramisu cheesecake recipe is a must-try.

WHAT ARE THE KEY INGREDIENTS IN BAKED TIRAMISU CHEESECAKE?
1. MAKE THE CHOCOLATE CRUST
Graham crackers or chocolate cream cookies, such as Back to Nature or Oreos, are recommended. Ensure that the crust complements the tiramisu flavor well, adding a dusting of cocoa powder. Bake the crust until it sets and becomes crispy.
2. PREPARE THE CHEESECAKE FILLING
Use the same recipe as the classic New York cheesecake, replacing 8 oz of cream cheese with 8 oz of mascarpone to enhance the tiramisu flavor. If mascarpone is unavailable, substitute it with cream cheese. Optionally, add instant coffee to the filling for extra flavor.
3. LAYER THE CHEESECAKE
In the pan, add half of the cheesecake filling. In the middle, add a layer of coffee-soaked ladyfingers. Top with the remaining cheesecake filling to incorporate the coffee flavor and tiramisu texture.
4. BAKE THE TIRAMISU CHEESECAKE
Bake the tiramisu cheesecake in a water bath to prevent it from rising and falling too much. To achieve a creamy texture, bake it slowly and slowly.
5. COOL THE CHEESECAKE
Let the cheesecake cool overnight. This step is important to allow the cheesecake to set properly.
6. COVER WITH COFFEE MASCARPONE CREAM
Prepare the coffee mascarpone cream by combining mascarpone, coffee, sugar, and heavy cream. This mixture should be textured similarly to that of tiramisu cream. Layer the cream on top of the chilled cheesecake.
7. FINAL TOUCHES
Using a round piping tip, pipe the cream into dollops. Dust it with cocoa powder. Serve and enjoy your delicious baked tiramisu cheesecake.


PRO TIPS FOR PERFECTING TIRAMISU CHEESECAKE
CHOOSE THE RIGHT PAN SIZE
Opt for a 10×3″ springform pan that fits tight to prevent leaks. A 10″ pan, unlike a standard 9″ pan, accommodates the additional batter from ladyfingers, ensuring that the cheesecake bakes evenly without overflow during the low-temperature water bath.
SELECT HIGH-QUALITY INGREDIENTS
Use Philadelphia brick cream cheese for best results, and ensure the crust is thicker at the bottom for a sturdy base.
MASTER THE MIXING METHOD
Follow these tips to perfect the cheesecake filling mix, achieving a creamy texture without overdoing.
HANDLE LADYFINGERS CAREFULLY
Quickly dip the ladyfingers in and out of liquid to prevent them from becoming soggy and ensure they absorb just enough to complement the cheesecake batter.
BAKE WITH PRECISION
Bake at 320°F in a water bath until the cheesecake sets with a slight wobble in the middle. Avoid opening the oven door prematurely to prevent cracks.
CHILL THOROUGHLY
Allow the cheesecake to cool to room temperature before transferring it, uncovered, to the fridge to chill overnight. This stage is essential to ensuring the cheesecake sets correctly


FREQUENTLY ASKED QUESTIONS
What can I use instead of mascarpone cheese in recipes?
If mascarpone cheese is unavailable, substitute it with cream cheese. Be aware that this will slightly reduce the intensity of the tiramisu flavor. For the best results, ensure the cream cheese is of high quality. This simple swap can still deliver a delicious and creamy tiramisu cheesecake.
Can I add rum to the tiramisu cheesecake?
For an enhanced flavor, consider adding rum to the coffee soak for the ladyfingers. This addition will give your tiramisu cheesecake extra depth and richness, making it even more delectable.
Can I use a different type of pan if I don’t have the one specified in the recipe?
For optimal results, I strongly recommend using a 10″ pan for this cheesecake. However, if you only have a 9″ pan, it can still work. Ensure the pan is at least 3″ tall, and wrap aluminum foil around it tightly to create a secure collar. Fill the pan slightly below the brim to prevent overflow. Based on my experience, filling almost to the top worked perfectly without any overflow. You can use any leftover cheesecake batter to make a smaller cheesecake separately. This method guarantees that your cheesecake bakes evenly and avoids any spillage during baking.
How long does it take to bake a cheesecake?
When determining if your cheesecake is perfectly baked, follow these precise steps for a flawless result. During the first 75 minutes of baking, refrain from opening the oven door to maintain an even temperature. After 75–80 minutes, gently jiggle the cheesecake by opening the oven door briefly. When touched lightly, it should be firm around the edges but slightly jiggly in the center—it should feel bouncy to the touch. For an extra creamy texture, remove the cheesecake after 80 minutes. If you prefer a firmer consistency, wait until 85 minutes. These cues ensure a perfectly baked cheesecake every time, balancing texture and taste flawlessly.
Why is my cheesecake crust soggy?
The article discusses common issues with cheesecake crusts becoming soggy, often due to water leaking into the pan while baking with a water bath. It recommends using a high-quality springform pan and tightly wrapping it in aluminum foil for double protection against leaks. These precautions help maintain the crust’s crispness and ensure the overall integrity of the cheesecake.
Why did my cheesecake crack?
The article discusses common reasons why cheesecakes crack during baking, emphasizing factors such as oven temperature fluctuations, opening the oven door prematurely, and the importance of using a water bath and avoiding fan settings. It recommends using a properly calibrated oven at 320F and addressing cracks with a butter knife while the cheesecake is still warm to minimize their appearance. Overall, it highlights proactive steps to prevent cracks and practical solutions if they occur during baking.


BAKED TIRAMISU CHEESECAKE
Ingredients
Chocolate crust:
- 85 g unsalted butter, melted
- 455 g chocolate crème cookies
Cheesecake filling:
- 325 g granulated sugar
- ½ tbsp. salt
- 680 g full-fat cream cheese, room temperature
- 226 g good quality mascarpone (e.g., Galbani), room temperature
- 4 large eggs, room temperature
- 120 g cup heavy cream
- 240 g cup sour cream
- 1 tbsp. cornstarch
Assembly:
- ½ cup strong coffee (make black coffee however you like, but make it stronger)
- 12 ladyfinger biscuits
Coffee mascarpone cream:
- 2-4 tbsp. granulated sugar
- 113 g good quality mascarpone cheese, cold
- 1 tbsp. instant coffee + 1 tbsp. water
- 240 g heavy whipping cream, chilled
Decoration:
- 2 tbsp. cocoa powder to dust
Instructions
Chocolate crust:
- Preheat your oven to 350F (conventional setting).
- To prevent sticking, butter the bottom of a 10-inch springform pan that is 3 inches high.
- In a food processor, grind chocolate cream cookies until they form a fine crumb, then mix with melted butter. Press the mixture firmly into the pan to create a crust, then bake it for 7-8 minutes until it firms up.
Cheesecake filling:
- Adjust the oven temperature to 320F for a conventional oven.
- In a stand mixer, add cream cheese, mascarpone cheese, sugar ,vanilla, and salt to the bowl. Use the paddle attachment to beat the mixture for 2-3 minutes at medium-low speed until it's creamy, scraping the sides of the bowl to ensure everything combines evenly.
- In a separate bowl, lightly whisk your eggs. To prevent an airy and spongy texture, avoid overbeating. Gradually add the eggs to the batter, mixing at low speed until just combined.
- Blend in the cream, sour cream, and sifted corn starch at low speed, continuously scraping the sides of the bowl to maintain a smooth mixture.
Assembly & baking:
- Seal your pan tightly with aluminum foil on the outside, ensuring it is secure. Pour half of the batter into the crust and gently shake to spread it evenly. Lightly tap the pan on the counter a few times to remove any air bubbles.
- With a quick dip on each side, soak the ladyfingers in coffee, not letting them hold the liquid. Layer them in the cheesecake pan, placing them as close as possible, and cut some into smaller pieces to fill any gaps.
- Add the remaining cheesecake batter, filling the pan to just under the brim, and gently shake and tap again.
- Put a large tray in your oven and add 1-2 inches of boiling water. Set the springform pan in the water and bake for approximately 80 minutes. Refrain from opening the oven before 75 minutes have elapsed.
- When done, the cheesecake should have firm edgesand a jiggly center. Remove it from the oven and cool at room temperature for15 minutes.
- Use a butter knife to gently run between the cheesecake and the pan's walls. Continue to cool for 2-3 hours at room temperature, then place it in the fridge to chill overnight without a cover.
Coffee mascarpone cream:
- The following day, combine mascarpone, sugar, and coffee in a bowl, whisking until smooth. Gradually add heavy cream and whisk at low speed until the mixture reaches stiff peaks.
Decoration & serving:
- Carefully remove the chilled cheesecake from the pan and transfer it to a serving stand.Spread a thin layer of coffee mascarpone cream evenly on top of the cheesecake.Use the remaining cream in a piping bag to create a decorative pattern on the cheesecake, then delicately dust it with cocoa powder.
Notes
- To ensure the batter fits perfectly, use a 10-inch pan that is 3 inches tall. Alternatively, if using a 9″ pan, make sure it is also 3″ tall to avoid having leftover batter. Fill the pan nearly to the top to prevent cheesecake overflow during baking, which should be done low and slow in a water bath for optimal results.
- When preparing the ladyfingers, don’t oversoak them; a quick dip in the cheesecake batter is sufficient. This allows them to absorb just enough moisture before baking.
- For additional tips and detailed instructions, refer to the blog post accompanying this recipe. It provides insights that can enhance your cheesecake-making experience.
